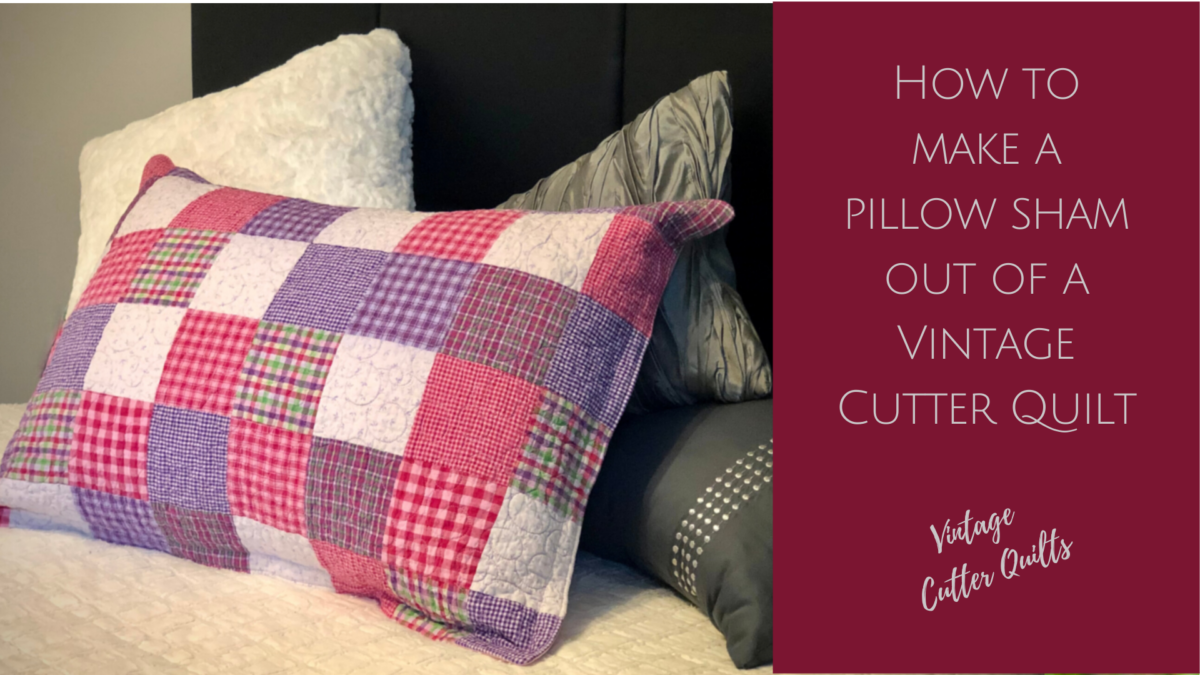
Do you love to see decorative pillow shams on your bed? Do you have a quilt that is so worn that you just can’t use it anymore? How do these two things interconnect? Maybe your quilt is vintage. It might be your grandmother’s or grandaunts. It may be your son’s childhood quilt, and it was dragged and taken EVERYWHERE. And of course, as expected, it was washed a million times, so it’s seen better days. Yet, you don’t want to just get rid of it. It has so many memories.
How about making a pillow sham? Can you find a 31” x 23” piece that you can use? I’ll show you how to make a simple pillow sham you can finish in an afternoon. Only basic sewing skills are necessary. And, of course, you’ll want to have it on your bed forever
If you happen to love the idea but don’t have an heirloom quilt in dire straits. Don’t worry. You can purchase vintage cutter quilts from local antique shops or look on Etsy for vendors. Here’s an example of a vendor that sells cutter quilts and remnants. Refer back to my post on the back story of vintage cutter quilts here.
Now let’s get to it. First, you’ll need to look at your quilt to see what section will make a great top to a sham. Next, cut a 31″ wide x 23″ high piece with your scissors. You will cut it to exact measurements in a bit. Store the rest of the quilt for other similar items. You probably have plenty more areas that can be reused. Follow the instructions below.
MATERIALS you need for one pillow sham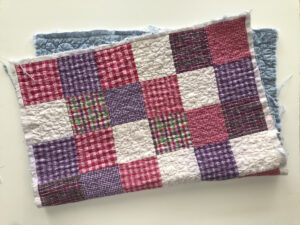
- A rough cut 31” x 23” section of vintage quilt
- 2/3 yard fabric for the back of pillow sham, look for a quilter’s cotton or medium-weight fabric
- A 28” x 20” standard pillow
- Thread, color to coordinate with vintage quilt
- Basic sewing supplies
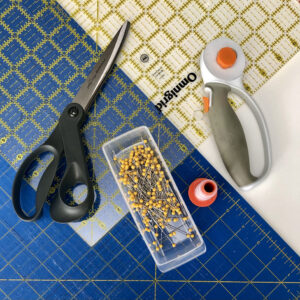
- Sewing machine
- Iron
- Cutting mat
- Rotary cutter
- Scissors
- Quilter’s ruler
- Pins
CUTTING of vintage cutter quilt & fabrics
Cut vintage quilt to 30” x 22”, assuring it is square.
Cut one back fabric to 19” x 22”
Cut one back fabric to 15” x 22”
INSTRUCTIONS
- Fold 1/2″ along one of the long edges, 22” length, of each back piece toward the wrong side. If you own a hot press ruler, this is the perfect use for it.*
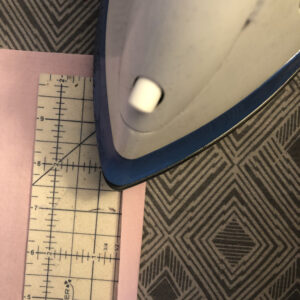
- Press with an iron.
- Fold again and iron.
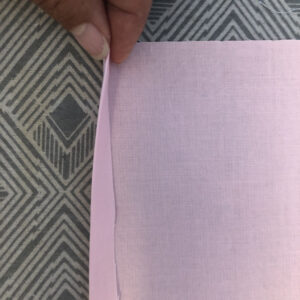
- Pin in place or use quilting clips if you prefer.*
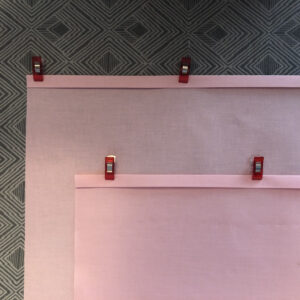
- Stitch the hem at the folded edge of both back pieces. It is easier to sew from the wrong side, you see the edge.
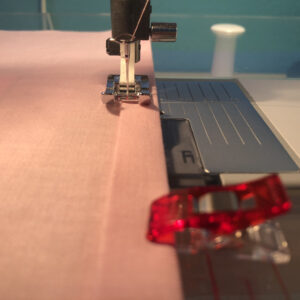
- Lay vintage quilt section, right side up.
- Place the longer of the two (19”) back pieces and lay it right sides facing each other, on top of the quilt section, matching raw edges. It doesn’t matter whether it is the left or right edge you are aligning it with.
- Lay the shorter back piece (15″) on top, facing the same direction as first, face down.
- Match raw edges towards opposite side as first back piece. The two stitched lengths will overlap.
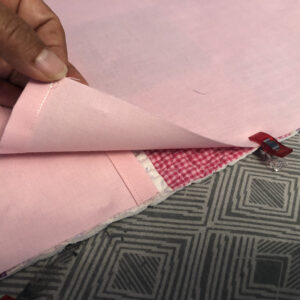
- Pin or clip layers on the outside edges.
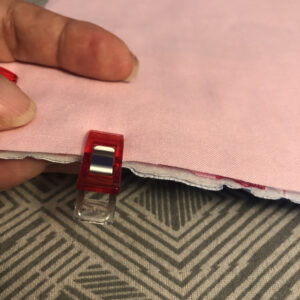
- Sew along the outside edge with a 1/2” seam.
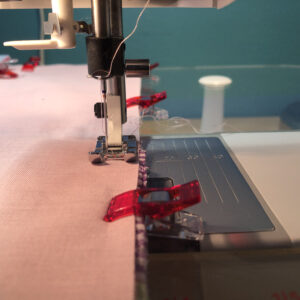
- With scissors, clip all 4 corners at a diagonal, taking care not to cut into the seam.
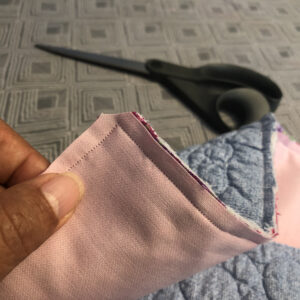
- Turn pillow sham right side out.
- Press edges flat and pin right side edges of the pillow sham.
- Sew 1/8” from the outside edge.
- Sew a 1” stitch around the entire pillow sham.
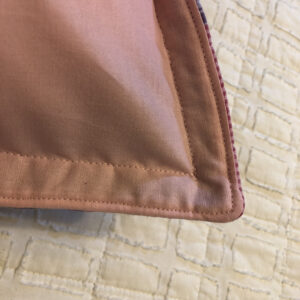
- Press the flange you have created on your pillow sham.
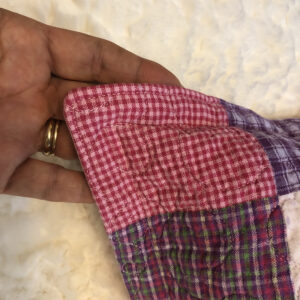
- Insert pillow. The pillow will be snug. Your pillow sham will be puffier with a sham that is slightly smaller.
YOU’RE FINISHED
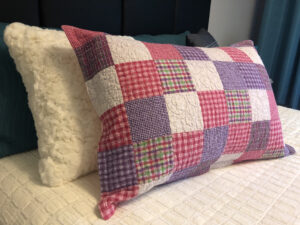 You now have a wonderful memento, again! Place your finished pillow sham on your bed and enjoy how it dresses up your bed and the memories every time you are in your bedroom.
This is just one example of the many things you can create using the quilt that would otherwise sit in a dark closet. It would be a shame not to be able to appreciate the memories the quilt has to offer. Enjoy!
If you have made a pillow sham, how was your experience? Leave a picture and share your experience.
Snuggle Up!
*Quilting accessories used
Clover Hot Press Perfect Ruler
