To frame vintage quilts in a picture frame is an easy way to hold onto the memories in the quilt. If the quilt that was handed down through your family has reached the point where it can not be mended, believe me, that it is not time to throw it away. There are so many memories in it.
There are many things you can do with the quilt or, better described, the quilt pieces. Framing vintage quilts is a quick task that can look very formal or casual, but in either case, it will preserve the quilt for many years and will decorate your walls or counters.
Depending on its condition, there is a chance it can be hung for display as you would any other quilt. For example, if it has a sleeve, it can be suspended through a curtain rod. Otherwise, try folding it and hanging it on a rod in that manner.
Frames are elegant ways to display and preserve the quilt memories. I will show you three ways to consider. First, always keep in mind where you place the framed quilt section. Find a wall or counter that does not get a lot of sun exposure. Sun will continue to destroy the fibers in the quilt.
I will show you three different framing methods; a stretched canvas frame, a shadow box, and a set of three floating frames. So let’s get to it.
Frame Vintage Quilts – Canvas Frame
 I like to use a canvas frame because it will help hold the shape of the quilt. If the quilt condition does not allow for slight stretching, you may want to add tulle fabric over the top of the quilt. Use the tulle to support the quilt.
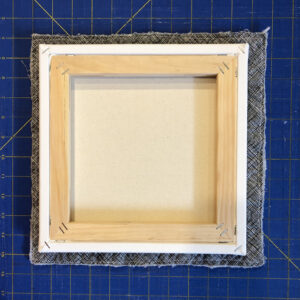
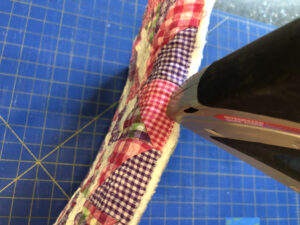
My piece of the quilt did not reach the back. You will see I stapled it to the side, then taped it down flat with packing tape.
MATERIALS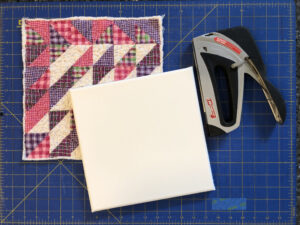
- A 14″ x 14″ piece of vintage quilt
- A stretched canvas frame, I am using a 10″ x 10″
- Optional: a half yard of tulle, matte white (select a color that will “go away” when placed on the quilt)
- Optional: Picture Display Stand
- Staple gun
CUTTING
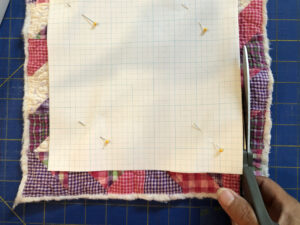
Test the quilt section to see if it will hold up to slight stretching.
If it will not cut a 14″ x 14″ section of tulle. The tulle will be used to stretch and hold the quilt in place. (Optional)
INSTRUCTIONS
- Place tulle on work surface. (Optional)
- Place quilt section upside down on top of tulle or directly on a work surface if not using tulle.
- Place canvas frame centered on top of the quilt.
- Take a peek at the front for proper placement.
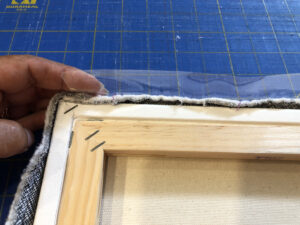
- Begin stapling the right side of the tulle and quilt to the back of the wood frame.
- Move to the left side, stretching only slightly so the quilt will not sag and staple.
- Move to top stretch slightly, staple, do the bottom last.
- Take the corner, fold over and staple to one side.
- Take a look at the front in between stapling each side.
- You may tape the rough quilt edges to the back of the frame if desired. Use packing tape.
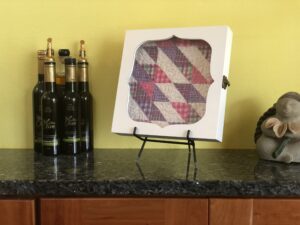
- It is ready to either be hung or placed on a picture display stand.
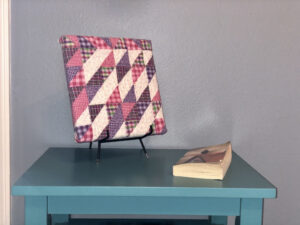
Frame Vintage Quilts -Shadowbox Frame
 A Shadowbox frame opens from the front like a cabinet. You place items in it and pin, glue, or tape to the back.
MATERIALS
- An 11″ x 11″ piece of vintage quilt
- 10″ x 10″ shadowbox frame
- Optional: Picture Display Stand
- A 10″ x 10″ piece of paper or cardboard
- Scissors
- Pins
CUTTING
- Make a template out of the paper by placing it in the shadowbox, meeting two of the edges, and forming a crease on the other two.
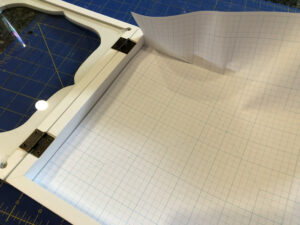
- Fold the paper to the creased dimensions.
- Check to confirm it fits into the shadowbox.
- Pin the template to the quilt and cut the quilt to those measurements.
INSTRUCTIONS
- Place the quilt facing outward into the shadowbox.
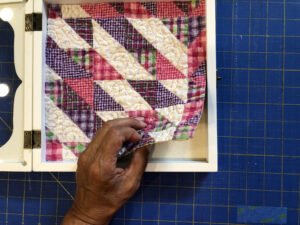
- Pin the top two corners, careful to pin in a location that is not visible once the frame is closed.
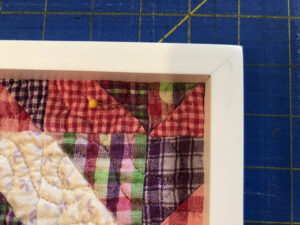
- Close the shadowbox front.
- It is ready to either be hung or placed on a picture display stand.
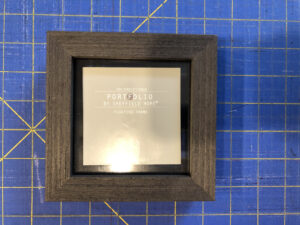
Frame Vintage Quilts – Set of 3 Floating Frames
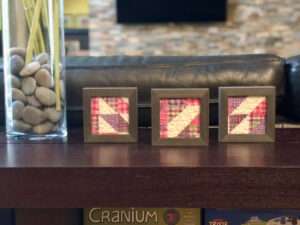 I am using three frames, but you may want to use one. I think decorating in threes holds more interest. Do what works for you. Maybe you’d like to frame one larger piece instead.
MATERIALS
- A 12″ x 12″ piece of vintage quilt
- Three floating frames, I am using 4″ x 4″ frames.
- Scissors
CUTTING
Cut three sections of the quilt to the size of the glass.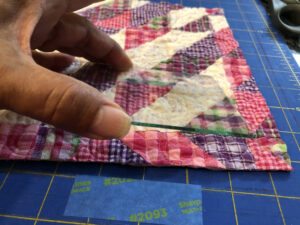
INSTRUCTIONS
- Insert the quilt sections into the frames.
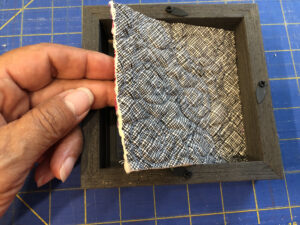
- Assemble the frames per frame product instructions.
- It is ready to either be hung or set on a counter.
Alternatively, you may cut the quilt sections smaller than the glass so they “float” as intended in the frame design.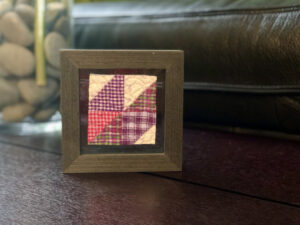
All three methods are elegant ways to display the deteriorating quilt and honor its maker and original owner. All three are quick and straightforward. Sizes of frames are entirely up to you and the number of quilt sections you can use.
I recommend framing vintage quilts that have been handed down in the family and are in bad condition. Don’t get me wrong, I am not saying you take a heirloom quilt and chop it up. If the quilt is in bad condition and cannot be repaired, this is an option.
You may also simply be interested in decorating with the feel of quilts but not have entire quilts on display. This is a great way to do that. Purchase a vintage cutter quilt and enjoy the process and final product. Refer to the Quilt Studio Blog “Vintage Cutter Quilts: One of these Great Ideas will Rescue your Heirloom Quilt” for more info about vintage cutter quilts.
Share images of what you have framed.
Snuggle Up!
Acela