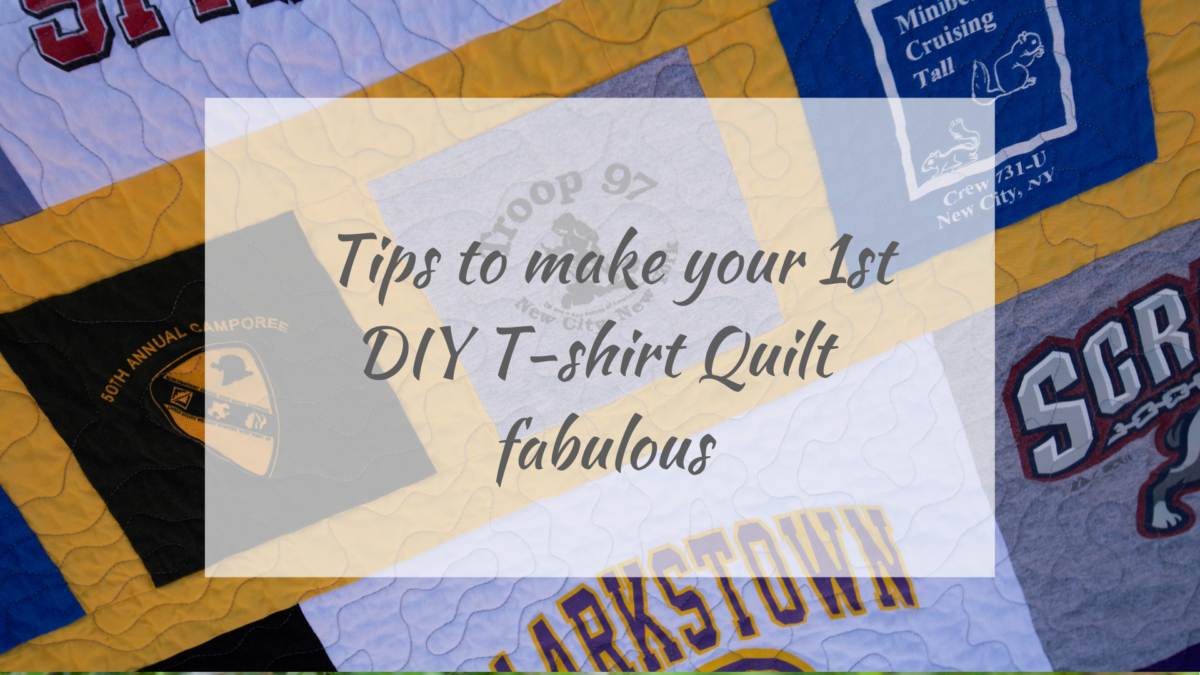
Tips to make your 1st DIY T-shirt Quilt fabulous.
Do you feel comfortable and accomplished when you do things yourself? Glad to hear. You’ll do fine with your 1st DIY t-shirt quilt. And it feels great to see what YOU created.
 This isn’t going to be a tutorial on making a t-shirt quilt. It will be tips, which are lessons learned as I completed my 1st, 2nd, 3rd, 20th quilt. I’m still learning better, more accurate, or easier ways to do things. I would love for your journey to be accelerated and filled with the joys of making rather than the challenges of learning via mistakes. And maybe less cussing.
PLAN YOUR 1ST DIY T-SHIRT QUILT
Find a YouTube video or buy an instruction book. It’s worth it. If you feel confident you can conquer the task, then simply skim over instructions for anything that may be new to you.
I often read about folks making their 1st DIY t-shirt quilt, or better yet, never quilted, who took on a queen for their first time. All I can say is, “Holy cow, did you consider the enormity of that endeavor?”
If I had it to do over again, I would make a test t-shirt quilt. Even if you are a sewer, there are nuances in t-shirt quilts. Have your “ohhhh” and “aha” moments on your test quilt. It can be small, let’s say baby size, 45″ x 45″, then donate it. Find 6-9 shirts you don’t want to keep or any jersey-knit cotton material to use for your test quilt blocks. They should be the stretchy jersey cotton that t-shirts are made of. The stretchiness is part of the learning curve.
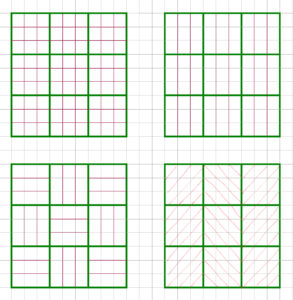
If you are making a mosaic pattern, practice your partial seams on small practice blocks. Just cut a few 4″ x 4″ and 4″ x 8″ rectangles. Dimensions are approximate – these dimensions won’t align when finished, but it’s the intersecting seam work that matters.
REPAIRS
If your shirts need repairs (tears, stains), take care of that first.
WASH/DRY
I can not stress enough, you should wash your shirts.
 If your shirt has been stored for “years,” wash it. The graphic material it is made of may have dried and deteriorated to the point that it comes off when washed. If the graphic comes off, you may decide against including it in the quilt.
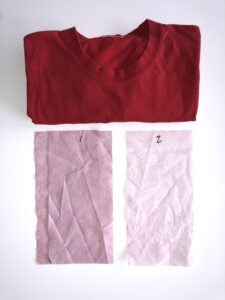 When you wash the shirts, wash each color separately and include color catchers (Shout Color Catchers). I recommend adding the color catchers so you can tell if there is a shirt that bleeds. If you aren’t familiar with color catchers, they are sheets that look like dryer sheets but trap the color that bleeds during the wash cycle. As a result, the sheet will hold the color instead of the color attaching to all the other shirts in the load.
If, for example, you wash reds together without a color catcher, you will never know if one of the shirts bled until you wash the quilt and THAT ONE shirt bleeds all over the quilt. That is because all the clothes are the same color so it will not be noticeable. Or, if you wash all darks together, the result is the same. Unless you add a color catcher, you won’t know.
WARPING
 If your graphic is warped, you can work on it before adding the interfacing. Use an iron and starch or a starch alternative. I use Best Press. Remember, the shirts are stretchy, in this case giving you an advantage. Spray the rough cut block with starch. Try to tug and push the shirt around to straighten. Then press. If it needs more work, repeat the process. Sometimes you can get it to straighten out, sometimes you can’t. And believe it or not, some are put on the shirt out-of-whack.
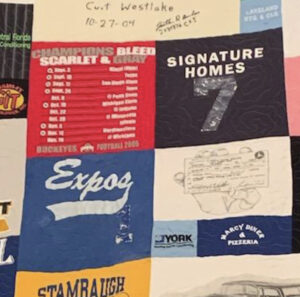
ADDING TO A BLOCK
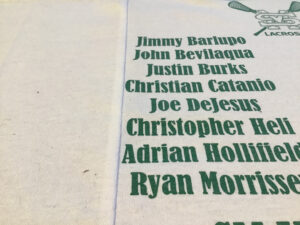 A graphic may not have the suitable space around it to meet the block dimensions. You can add material from the back or sides to make it the size required. You’d be surprised at how unnoticeable the additional seam will be.
CUTTING/INTERFACING SEQUENCE
When you initially cut the shirts, cut an oversized block. Next, add interfacing to the oversized block. Then cut block to exact size required. Once you have your 1st DIY t-shirt quilt under your belt, you may try a t-shirt quilt without interfacing. It’s a completely different experience and challenges.
PRESSING
If you press at any point in time, use a pressing sheet. Irons and graphics do not get along. Irons and interfacing do not get along.
SEAM ALLOWANCES
Decide whether you want to use 1/4″ or 1/2″ seam allowance before cutting and beginning to sew and cut and sew EVERYTHING with the same dimension.
SEWING
If you aren’t a frequent sewer, pin your pieces together. Sometimes it feels like a waste of time, but it isn’t if you aren’t a frequent sewer. If you are looking for accuracy, that is.
REWORK
This one is tough. If you make a mistake in sewing, is it necessary to rework before continuing? Think twice before you start tearing out seams. It’s entirely a personal choice, but there are so many things people will never see or notice after the quilt is quilted and washed. If the little voice in your head read that last sentence and said, “Yes, but I will know,” then take it out.
I wrote a post about reworking my mistakes. I’m a recovering perfectionist. Check out this POST.
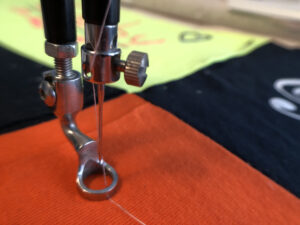
QUILTING
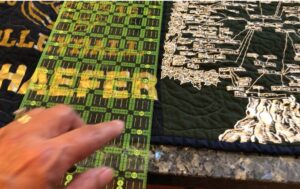
Quilting doesn’t have to be fancy. However, quilting should be more than stitch-in-the-ditch. Here are a few straightforward suggestions. And you don’t need a long arm machine.
 Use painter’s tape on the quilt for straight line quilting.
SQUARING OFF
Most quilt pattern instructions will tell you to square off your quilt before adding the binding. And I agree. I also want to suggest that if dimensions are close, you’re good. Of course, unless you are looking for perfection. Once the quilt is washed and in use, it won’t matter. It won’t stand out. But, again, the decision is a personal preference.
BINDING
Adding binding is not easy. If you haven’t done it before, consider finishing the quilt without binding. And don’t let anyone tell you a quilt has to have binding. I’m here to tell you there are show quilts without binding so why not your 1st DIY t-shirt quilt . There are many methods of binding, and one of them is no-binding. In the video, I’m referencing the technique called Flip and Stitch. Check out this video.
CLOSING THOUGHTS
I’m hoping you took advantage of my tips to make your 1st DIY T-shirt Quilt. Do you just love your quilt? The appreciation for what it takes to make a quilt makes it much more precious to the owner. And who knows, you might just decide to take up quilting as a hobby.
Snuggle Up
Acela